Auth0
This guide serves as a configuration lab that provides the ID.me customers with the steps to configure ID.me on the Auth0 platform. This guide will provide an overview of:
- How to obtain an Auth0 tenant
- How to configure ID.me as an Social Login within Auth0
- Specific nuances within the Auth0 Platform
Step 1: Create an Auth0 Developer Account
Navigate to Auth0 and Sign Up
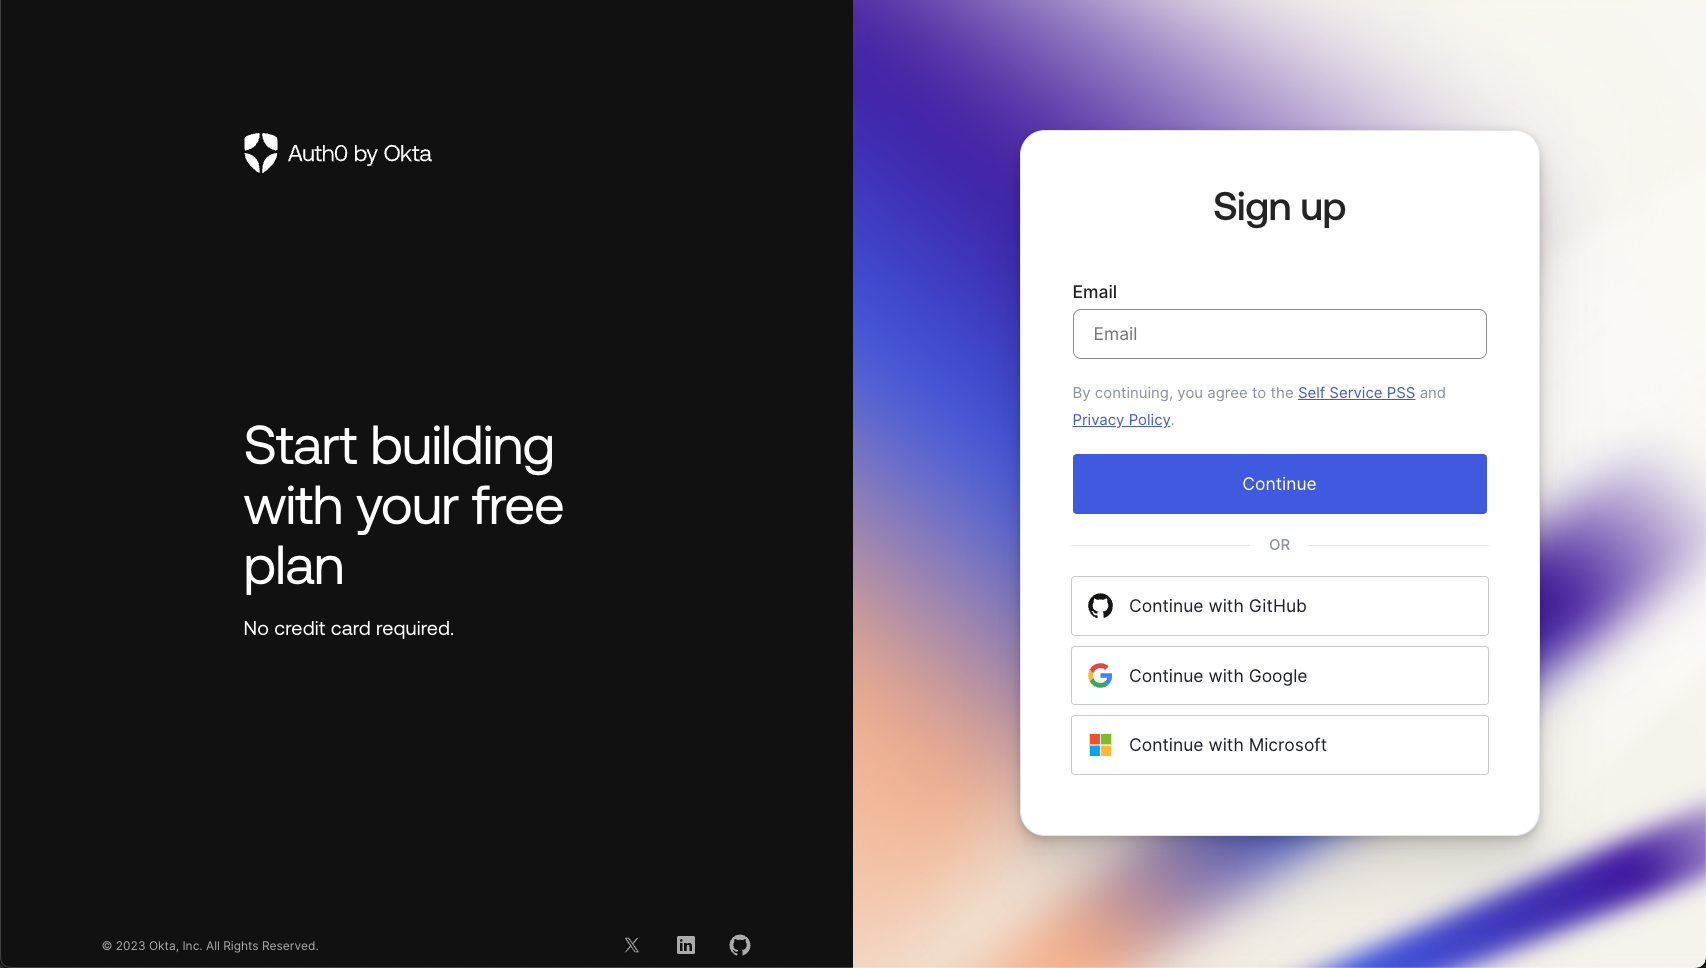
Enter your Email and Password
Select and enter Company name
Click Next and wait for your tenant to be created
Step 2: Configure your ID.me Identity Social Login
Navigate to Authentication -> Social
Select Creation Connection
Enter ID.me in the Search
Select ID.me (Identity) and select Continue
Enter your own ID.me Client ID & Client Secret
Select OpenID & the Identity Policy you want to test with
Select Create
We will assign this Policy to an Auth0 Application at a later step
Step 3: Configure your ID.me Community Social Login
Navigate to Authentication -> Social
Select Creation Connection
Enter ID.me in the Search
Select ID.me (Community) and select Continue
Enter your own ID.me Production Client ID & Client Secret
Select OpenID & the Identity Policy you want to test with
Select Create
We will assign this Policy to an Auth0 Application at a later step
Step 4: Configure an Auth0 Application
Navigate to Applications -> Applications
Select Create Application
Select Regular Web applications
Click Create
Select Next.js
Select Download Sample
Take note of the steps here, we will need to configure our ID.me accounts with the Redirect URI provided in this step. We will also need to insall Node.JS LTS using the steps provided.
Select Download
Navigate to the Settings tab
Enter the Callback URL
Under Allowed Callback URLs, enter the Callback URL that was displayed in the previous step
Add http://localhost:3000/ under Allowed Logout URLs
Under Allowed Callback URLs, enter the Callback URL that was displayed in the previous step
Select Save Changes
Extract the downloaded nextjs-01-login directory
Open nextjs-01-login directory in your favorite IDE
Within the nextjs-01-login directory, select sample-01 directory
Open your Terminal
Ensure Node.js is installed: https://nodejs.org/en/download
Navigate to sample-01 directory and install dependencies
In Terminal, run npm install
Successful install dependencies
Start your application
In Terminal, run npm start
Run your application locally
In Terminal, run npm run dev
Open a browser tab and navigate to: http://localhost:3000
Select Log In
You should see the Auth0 Email / Password page appear
Auth0 Email / Password page should appear
On the Auth0 Developer Portal, navigate to Authentication -> Social
We now have to assign the Social Login to the application
Select your ID.me Identity Social Login
Navigate to Applications
Turn on the Social Login for your new Application
Repeat the same steps for the Community Verification Social Login
Step 5: Test Auth0 <> ID.me Social Login
Navigate back to the Auth0 Login Page
Refresh the Page, you should see the ID.me Social Login options
Click Continue with ID.me (Community)
If you received a Redirect URI error, make sure to add the Redirect URI to admin!
Sign into your ID.me account
Select Accept to authorize app
You should be redirected to localhost and logged in
On the Auth0 Developer Portal, navigate to User Management -> Users
Select your new user
Scroll down and notice the ID.me mapped attributes tied to the account such as group, uuid, etc.
Useful Links
Authentication & Identity Verification
Enables organizations to easily define pre-configured identity verification policies to verify users’ identities at the exact level of trust required to access a requested service. No more, no less. ID.me’s solution orchestrates multiple verification methods at each level of trust to ensure that all of your users are able to easily and securely prove their identity online.
Community Verification
Offers a comprehensive and easy-to-deploy progressive community verification solution to fit your business needs and risk tolerance. Through this integration, you can successfully verify a user's eligibility for the following groups: Military, Students, Teachers, First Responders, Health Care Providers, Company Employees, Government Employees, Alumni, and more; to offer gated access or discounts to your customers.
Post Login Action
The post-login integration is for both identity proofing and community verification. This can be configured within your existing Auth0 flows to trigger verification appropriate to your use cases.